This article contains solutions to fix error code 0x80070091 which may appear when you try to perform Windows 10 system restore or delete a file or folder. You can follow troubleshooting steps below to fix the error easily and safely.
Case 1: Windows System Restore Error Code 0x80070091
Overview on system restore error code 0x80070091
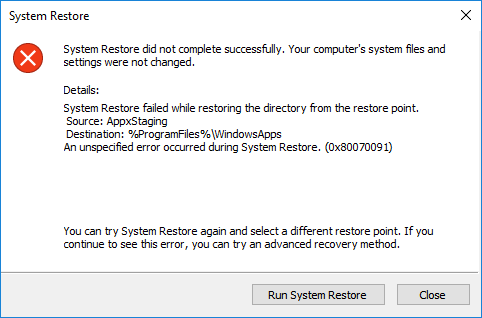
System restore is one of the features in Windows you may use frequently; it helps users to restore system when operating system goes wrong given that you have created a system restore point. But the system restore process might be blocked by an error code 0x80070091 which may also appear when you fail to delete certain files or folders. When error 0x80070091 appears during restoring system to a previous point, you can see error messages like this:
System Restore did not complete successfully. Your computer's system files and settings were not changed.
Details:
System Restore failed while restoring the directory from the restore point.
Source: AppxStaging
Destination: %ProgramFiles%\WindowsApps
An unspecified error occurred during System Restore. (0x80070091)
You can try System Restore again and select a different restore point. If you continue to see this error, you can try an advanced recovery method.
Microsoft Windows included the system restore feature since Windows ME, relying on Restore Point to revert computer state including system files, settings, installed programs, system registries, etc. This feature still exists on Windows 10, but it is turned off by default. To ensure system security, you should create a system backup in case of any unexpected issue. If you do not have third-party Windows backup software, you may need to enable the system restore feature manually.
The error message tells that the system restore process failed at AppsStaging, thus the cause of the issue seems to be corrupt files in ProgramFiles%\WindowsApps folder. If you check the log of the issue, you can see ERROR_DIR_NOT_EMPTY which means empty directory, but, actually, it is not empty. Since the error code 0x80070091 tends to happen to Windows 10, we should fix it as soon as possible.
Fix System Restore Error Code 0x80070091 on Windows 10/8/7
Solution 1: Rename WindowsApps folder to fix system restore error 0x80070091
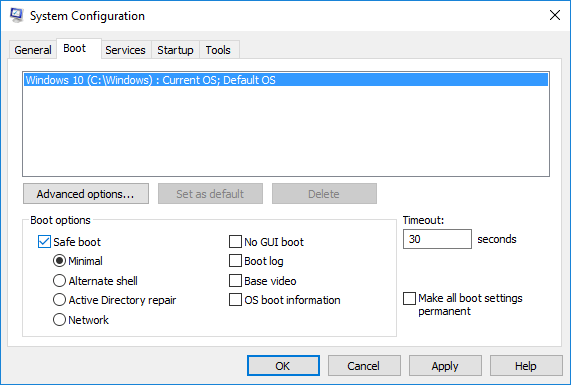
Step 1 Press Windows key and R together to open Run dialogue. Then type msconfig in Run box and click OK to open System Configuration.
Step 2 Click Boot tab on the System Configuration window. Then select "Safe boot" under Boot options and click OK button. If you are prompted by computer, click Restart to reboot computer. Before starting, save any open files and close all programs.
Step 3 Restart computer and system will boot into Safe Mode automatically.
Step 4 Right-click the Start menu and select Command Prompt (Admin) to open Command Prompt window.
Step 5 Type following commands in Command Prompt and press Enter key after each command:
- cd C:\Program Files
- takeown /f WindowsApps /r /d Y
- icacls WindowsApps /grant "%USERDOMAIN%\%USERNAME%":(F) /t
- attrib WindowsApps -h
- rename WindowsApps WindowsApps.old
Step 6 Open System Configuration window again, unselect Safe boot and click OK button.
Step 7 Restart computer and try system restore to check if the error code is fixed.
Solution 2: Restore system in Windows Recovery Environment
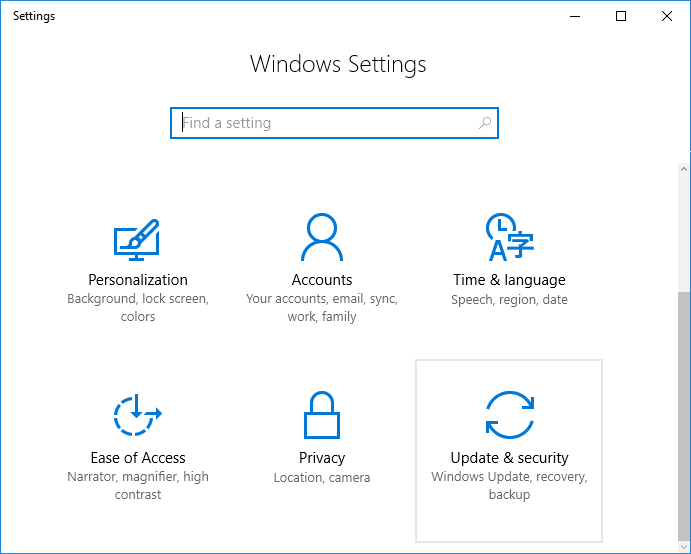
Step 1 Click Start menu and select Settings to open Windows Settings where you should select Update & security.
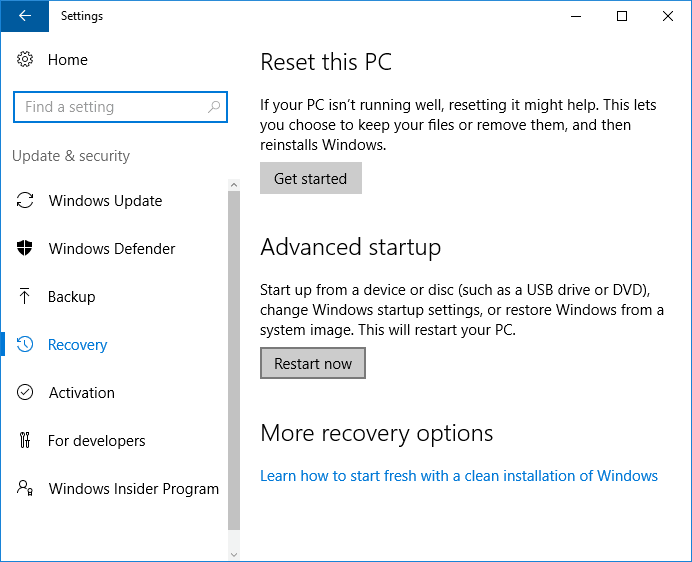
Step 2 Choose Recovery on the left pane and then click Restart Now button under "Advanced startup" on the right pane. Click this button and your PC will restart immediately.
Step 3 Wait for a while and you can see options on the blue screen. Here you should select Troubleshoot.
Step 4 Select Advanced options under Troubleshoot.
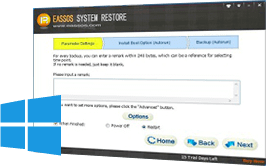
Step 5 In Advanced options, click the option System Restore which uses a restore point recorded on your PC to restore Windows.
Step 6 Select an Account for which you want to restore system, type password and click Next.
Step 7 You'll be asked to select a system restore point. Select the one you want to restore and follow the on-screen instructions to complete the restore process.
Solution 3: Run chkdsk to repair disk errors
Disclaimer: Chkdsk process can check bad sectors for the disk. If any bad sectors are found, disk check process will try to repair them. Bad sector repairing may lead to the loss if data stored on that area. Hence you should take a backup of the data in advance.
Step 1 Launch elevated Command Prompt by right-clicking Start button and selecting Command Prompt (Admin). Click Yes if you get a message given by User Account Control.
Step 2 Type command chkdsk /f /r C: and press Enter key. C: is the drive letter of the partition which contains the WindowsApps folder. If the folder in on a different volume, such as D, you should replace C with D, like chkdsk /f /r D:
Step 3 Type Y and press Enter key if you are asked to provide permission to rest actions.
Step 4 Wait until the checking and repairing process finishes.
Solution 4: Check bad sectors for hard drive
We can use free bad sector software to perform a full bad sector scanning for the hard drive. Eassos DiskGenius Free is free partition management and data recovery software, providing bad sector checking and repairing function. Please be noted that once any bad sectors are found, you should back up files as soon as possible. Do not try repairing bad sectors without a full backup.
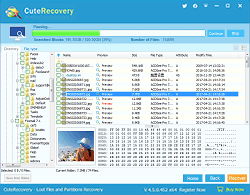
Step 1 Install and launch Eassos DiskGenius Free from your computer and you can see the main interface showing all disks connected to the PC.
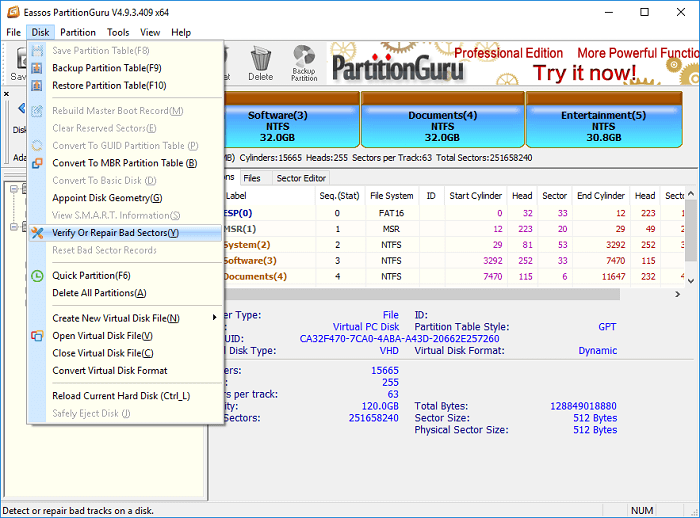
Step 2 Select the hard drive you want to check bad sectors and click menu "Disk" to select "Verify or Repair Bad Sectors" option.
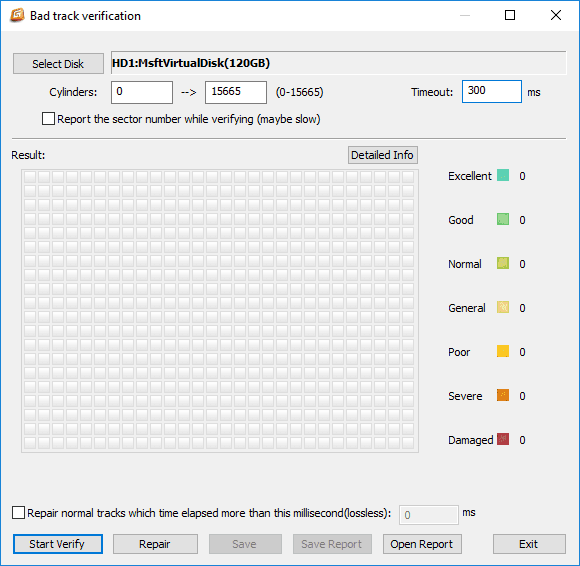
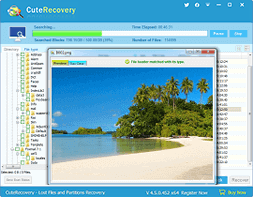
Step 3 The "Bad track verification" window pops up, and you should click "Start Verify" button to start the scanning.
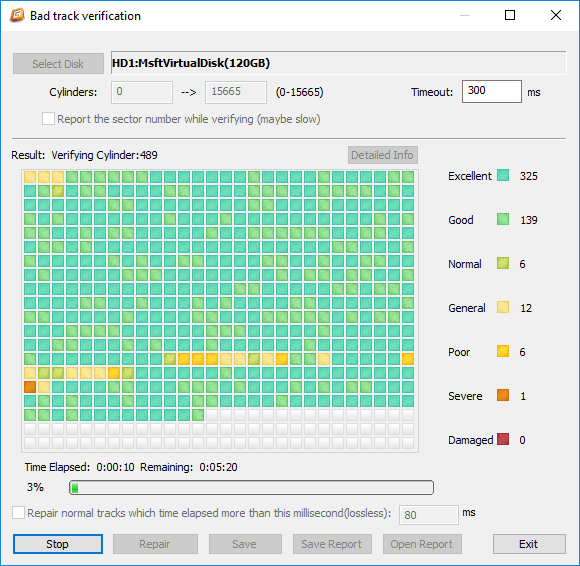
Step 4 The bad sector checking process may take long time to complete if the hard drive being scanning has large capacity. Bad sectors will be marked by red blocks tagged as Damaged.
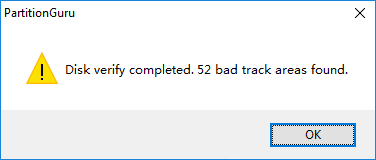
Step 5 Once the scanning completes, Eassos DiskGenius Free reports how many bad sectors it finds out.
Step 6 If you've backed up files on the hard drive, you can click "Repair" button to get bad sectors repaired.
Case 2: Error 0x80070091. The directory is not empty
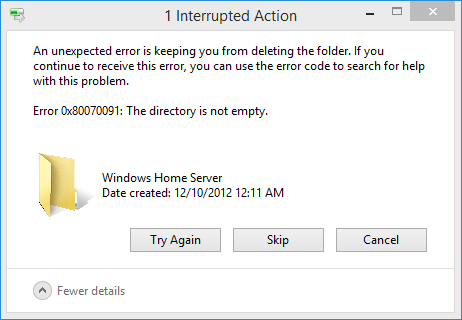
Error 0x80070091: The directory is not empty
The error 0x80070091 occurs when you try to delete folders on your Windows PC and the message says "An unexpected error is keeping you from deleting the folder. If you continue to receive this error, you can use the error code to search for help with this problem. Error 0x80070091: The directory is not empty".
The reasons behind the "directory is not empty" are various, and here lists some basic causes of error 0x80070091:
- There are too many junk files in the temporary folder.
- The hard drive from which you want to delete files contains bad sectors.
- Drivers on your PC are damaged or corrupted.
- You do not have proper permission to delete files from that computer.
How to fix Error 0x80070091: The directory is not empty
Solution 1: Delete the "windows.old" folder
Step 1 Right click the Start menu to select Run. Then type C:\windows\SYSTEM32\cleanmgr.exe in Run box and click OK.
Step 2 Windows will calculate how much space you can free on drive C: and the process may take a while to complete.
Step 3 Select Previous Windows installation(s) under "Files to delete" and click OK.
Step 4 Click Delete Files when Disk Cleanup asks whether you want to permanently delete these files.
Solution 2: Change ownership for the folder or file
If you have logged on your computer as the administrator and still cannot delete the file or folder, you may need to try taking ownership of the file or folder. Follow these steps.
Step 1 Open File Explorer by double-clicking This PC icon from desktop.
Step 2 Locate the parent directory that stores the files you cannot delete. Right-click on the folder or partition and select Properties.
Step 3 Select Security tab and click the Advanced button for special permissions and advanced settings.
Step 4 Click Owner tab and click Edit.
Step 5 Click the new owner in the Change owner to box in order to change the owner to the selected use.
Step 6 Select "Replace owner on subcontainers and objects" and click OK button. This option changes the owner of all sub-containers and objects within the tree.
Solution 3: Delete system junk files safely
Step 1 Open Disk Cleanup. Click Start menu to look for Windows Administrative Tools and you can see Disk Cleanup.
Step 2 Click Disk Cleanup and a box will appear to analyze files and folders that you can delete safely.
Step 3 When the analyzing is done, you'll be presented with a window where you can select files and folder to delete.
Step 4 Select all dialogue boxes occupied by unnecessary files such as Temporary Internet Files, Temporary files, Old Windows folder, etc. Click OK button to delete selected files.
Step 5 Try again to delete the file or folder that reports error 0x80070091 and check if the error is removed.
Solution 4: Update Windows drivers
Many Windows 10 drivers such as printers, videos cards and network adapters are downloaded and installed during system update. Though it is likely that drivers on your computer are up to date, if you have trouble with a device, you can try updating it manually. Here's the guide you can follow:
Step 1 Open Device Manager. Right-click This PC and select Manage, and the Computer Management pops up. On the left pane you can find and click Device Manager.
Step 2 Expand the categories to locate the device you want to update driver, then right-click on it to select Update Driver. To update hard disk driver, expand Disk drivers and right-click the disk in question.
Step 3 Select "Search automatically for updated driver software" and Windows will search for your computer and the Internet for the latest driver software for the device if this feature is not disabled in device installation.
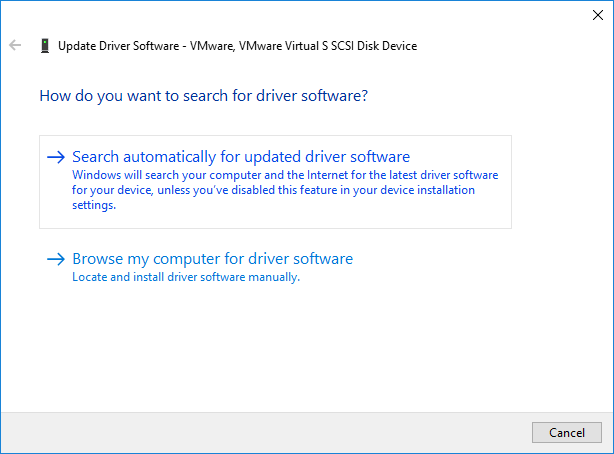
Step 4 If Windows cannot find a newer driver, you can go to the device manufacture's website to look for solutions.
Step 5 When the driver is updated to the latest, you can restart computer and see if the error code 0x80070091 is solved.
Solution 5: Force delete files or folders using free partition manager
It happens that Windows cannot delete certain files or folders due to various reasons, for example, the file is opened by other program, system errors, file corruption, etc. If you cannot fix "error 0x80070091: the directory is not empty" after trying solutions above, you can try force deleting the file using third-party partition manager software – Eassos DiskGenius Free. It provides a feature which is able to delete files that cannot be deleted by operating system. The deleting process is not limited by system, and deleted files won't be put into Recycle Bin. Thus you should make sure the file to be deleted is no longer of great importance; otherwise you'll have to perform file recovery after deletion.
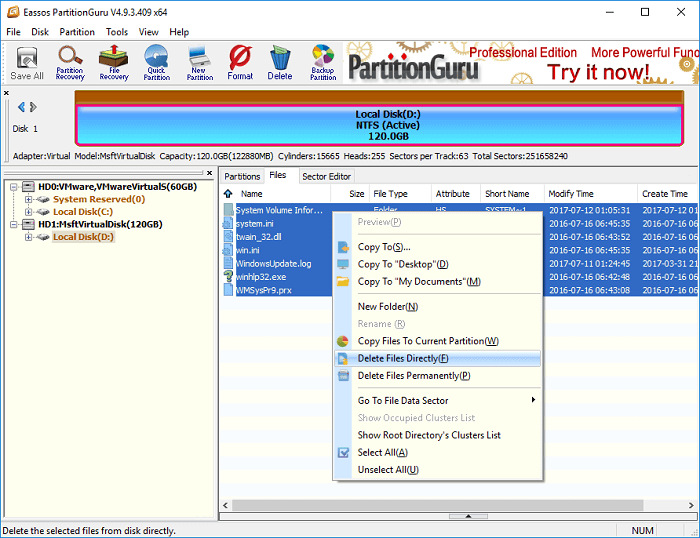
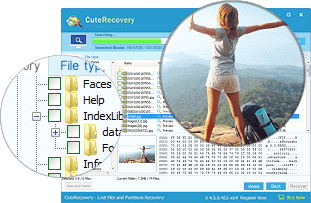
Step 1 Launch Eassos DiskGenius from your PC and then look for the files or folders you want to delete.
Step 2 Select and right-click files to be deleted and choose "Delete Files Directly" from the context menu.
Note: there is a similar option named "Delete Files Permanently" which is used to delete data permanently. Files can never be recovered if you delete them permanently.
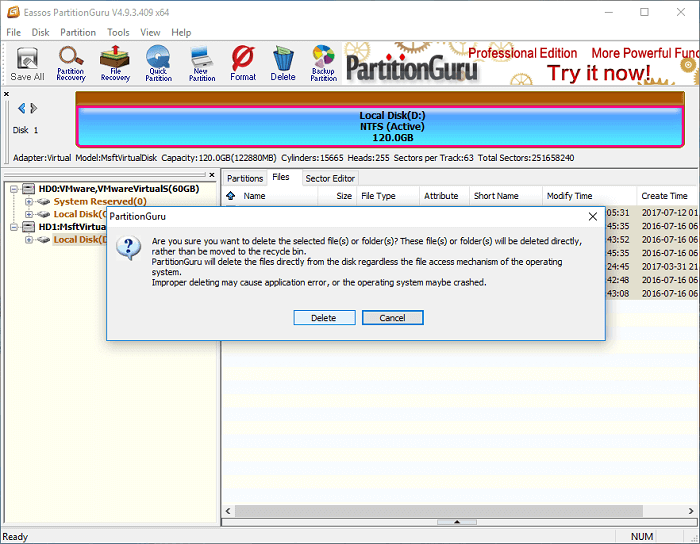
Step 3 Click Delete button to delete selected files. Please make sure deleted files does not include vital system files, otherwise Windows might be corrupted.


 Facebook
 Twitter
 Youtube
Comments