


DiskGenius Free
The best free partition software to simply resize partition, convert MBR to GPT, check bad sectors and backup data under Windows 10/8/7/Vista/XP.

DiskGenius Pro
All-inclusive partition manager program to safely resize partitions, recover lost files, edit hex data and back up data for PCs, laptops and workstations.


DiskGenius
Professional backup tool for PCs and Servers to perform file backup, disk / partition backup, and system backup & recovery

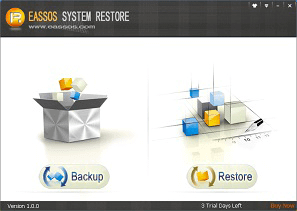
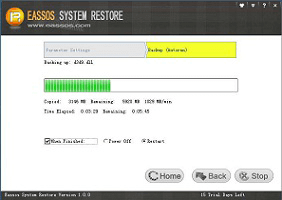
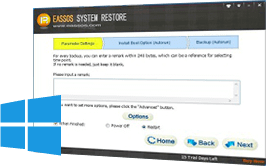
Eassos System Restore
Easy-to-use software backs up entire system's current state, data, settings and applications to protect PC from system crash.
Eassos DiskGenius
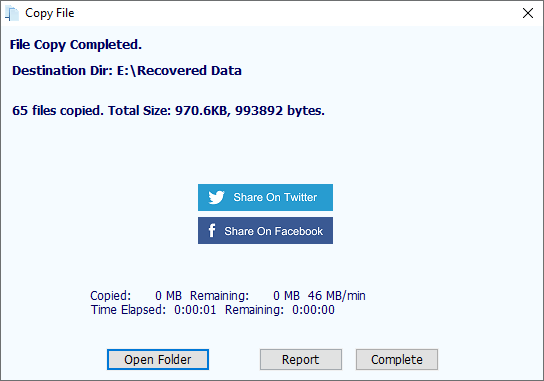
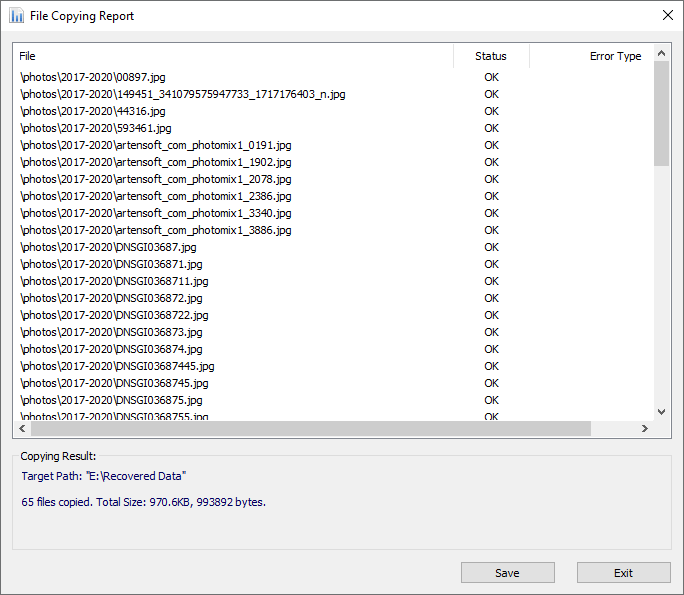
- Data Recovery
- Partition Management
- Backup & Restore
- More Features
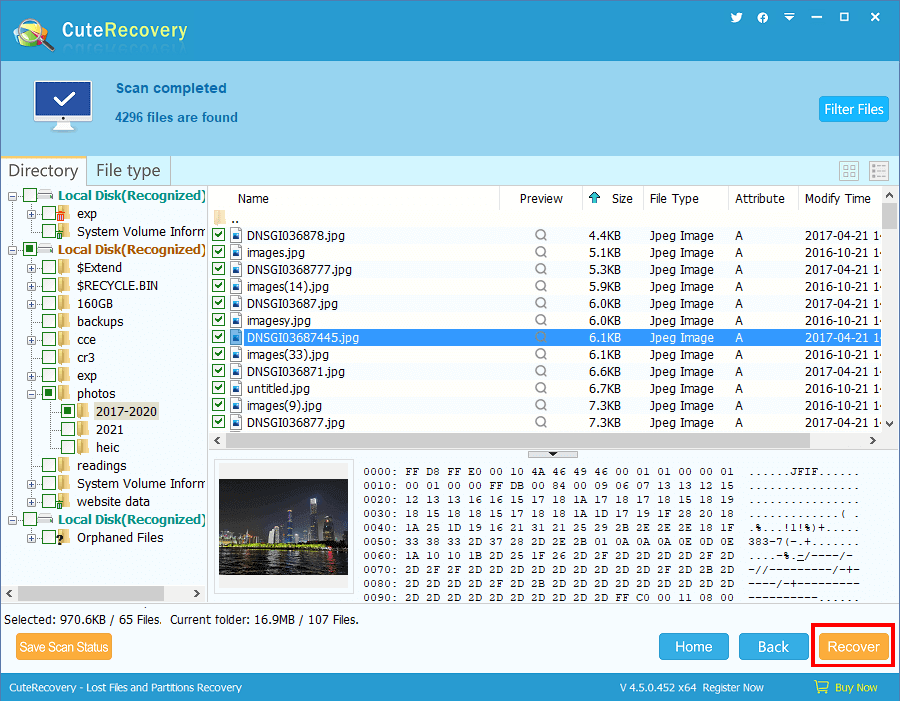
Versatile features and satisfying recovery result
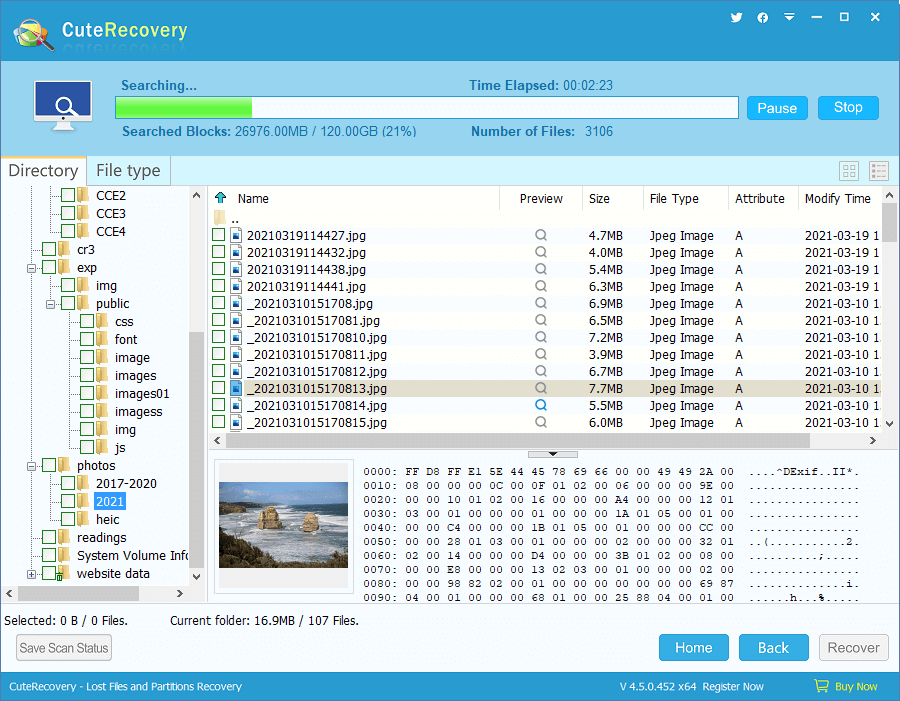
File preview helps to make clear whether files can be successfully recovered
Recover data during scanning, fastest recovery speed
Free technical support to all users
create partition
format partition
split partition
delete partition
hide partition
modify partition parameters
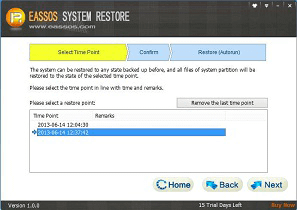
multiple restore points
full backup
clone partition
clone disk
copy sectors
backup and restore partition table
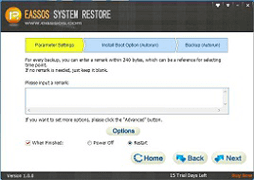
Eassos System Restore
- Easy-to-use and Fast
- Multiple Restore Solutions
- Compatible with GPT/UEFI
- 15-Day Free Trial
Restore operating system under Windows
Launch Pre-OS environment via boot menu
Create bootable disk when system fails to start
ESP partition is backed up while the program backs up system for GPT disk.
Support Windows 10.
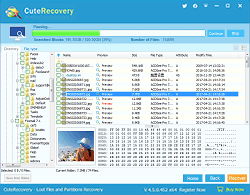
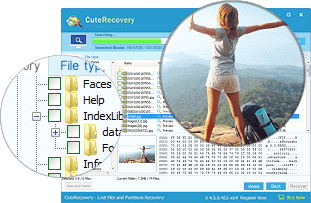
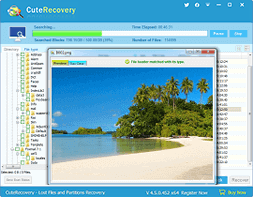
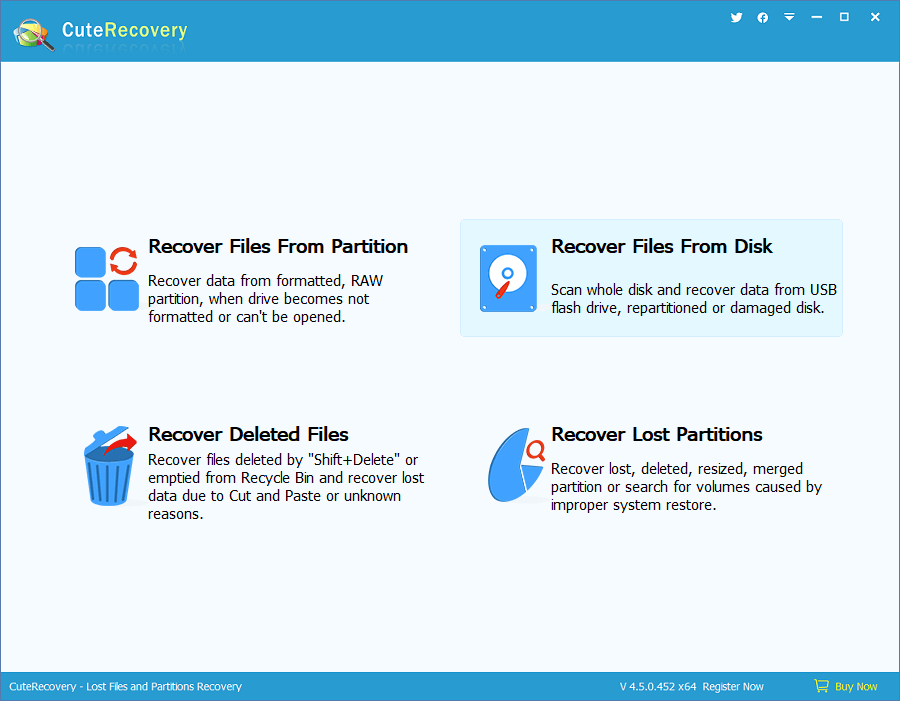
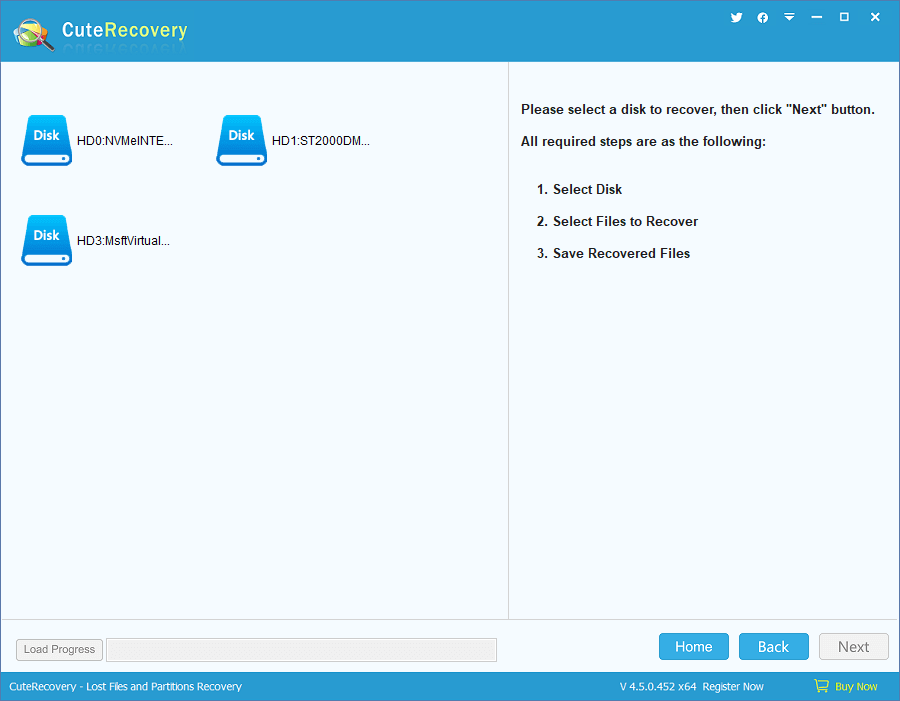
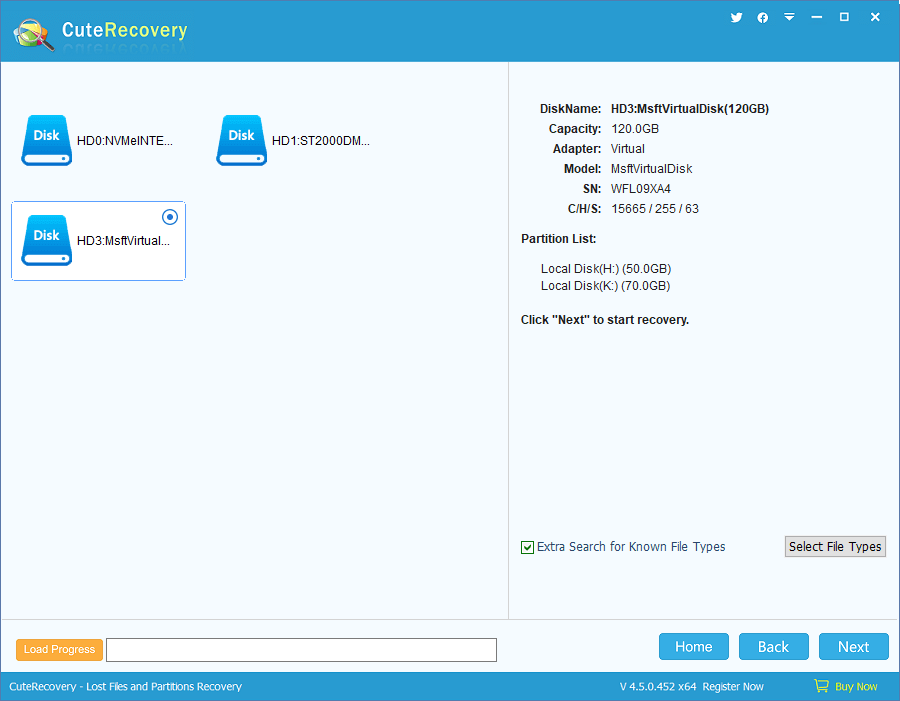
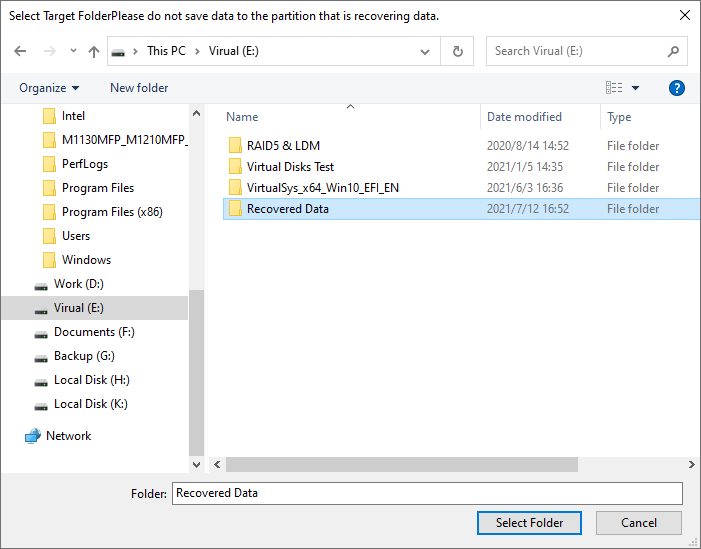
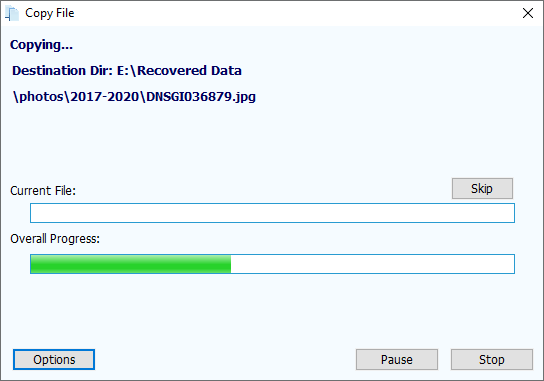
CuteRecovery
- User Friendly
- Preview File
- Safe and Fast
- Try it Free


 Facebook
 Twitter
 Youtube