
It is necessary to make it clear that what are your needs and what need to be backed up before you starting backing up Windows operating system with Windows 7 backup tool. If you choose to back up everything, then you may increase unnecessary cost to yourself; if you back up wrong files by mistake, then you are likely to end up with bad system restore. This post is going to help you backup Windows 7 by offering different backup solutions, and you can choose any of them based on your needs.
Why do we need to backup data?
What would you or your family members say if all your photos taken during wedding, party, travel, etc. suddenly got lost or all your working documents and emails were removed? What if small business loses all customer data and contact info? What about you lost all outlook contacts or well-designed presentations? Operating system failure is one of the major causes of file loss. You can ask yourself these questions if you are hesitated to backup system and have little idea about how valuable your files are.
There is a list of important files that should be added to data backup schedule. The list can’t meet all requirements of various users though, it includes files that are important to most people:
- Folders that stores all of your working documents
- Files or folders that contains all your digital photos and images
- Folders that includes all your projects related to study or working
- The document recording all account info or sensitive data
- Email contacts and email messages from outlook
- Website Favorites that saves all your bookmarks and important websites
- Programs, video or music bought from the Internet or collected for years
Apart from files listed above, you should make sure all other significant or work-related files have been included when you make plan for Windows backup. You need to make the final decision to select all needed files and folders after overviewing your backup requirements. When you think about system backup needs, you should make clear that how often you restore system, how large backup data will be and how much time you’d like to spend on backup process and so on.
Select proper Windows 7 backup solutions
Thanks to current computer technology, Windows backup can be done online or offline, and yet for security consideration, most users prefer to offline backup with the assistance of backup tool. Offline backup technology is mature and effective, as it can be performed by Windows built-in tools as well third-party programs. Of course you can all a reminder in your alarm clock to remind you backup data and system regularly.
If you choose Windows built-in backup function to backup operating system and important data just mentioned, you should learn the entire backup and restore process first. You should prepare large disk space and know shortcomings and potential problems. It creates backup automatically and for free, but it is still not chosen by many users.
This post also gives solution of system restore with Windows 7 backup software which is inexpensive but very effective no matter whether computer is connected to the Internet or able to boot system normally. They offers similar feature such as fully backup of system and desired files and apps.
Overview of Windows 7 built-in system backup
When it comes to Windows backup, many of us will say that the Windows System Restore feature provided by Windows XP doesn’t work well as expected; however, it is no longer the case since Windows 7 was released. Windows System Restore is an interesting system backup and restoring tool and Windows provides it for free. It seems that it is the perfect solution to restore corrupted drive, fix computer when it is corrupted due to buggy programs, restore system to a previous time point, etc. If you haven’t updated your computer and using the XP version of Windows, then it’s high time to take a view at the issue and update system to Windows 7 or 8.
There is no doubt that system backup and restore in Windows 7 is much better them XP. If you have ever tried the XP variety of system restore, you must have been impressed by its uselessness. It is usually very slow to create a system restore point, and it seldom does what you ask it to when it comes to actual steps of system restore. But if your operating system has been upgraded to Window 7, then you should give it another shot.
Going back to the days computers were working with Windows XP, system restore feature only adopted file filter and copied files around. However, since the version Vista, Windows started to use Shadow Copy which is built in Windows to create snapshot of desired drive with a certain time point. And the specialty created time point can be used in the future fir to restore computer or laptop when it goes wrong. The Shadow Copy is the function that is used to backup software and data and take snapshots of files even when there are being used. Also, this feature is available for Professional and Ultimate Windows version. It makes system restore more effective and complete using Shadow Copy instead of simple file copy. Windows XP can only restore system from certain changes and actually failed to work well. System restore feature of Vista and Windows 7 restore system to previous status including installed programs.
System Restore snapshots are actually created automatically on a periodic pace with Task Scheduler task, which can be triggered at system startup or at midnight every day. Before you are going to consider that it affects system boot speed you should know that Conditions tab can be set for details that it won’t start until computer has been idle for more than 10 or more minutes. If you are not into the schedule, you can control the Task Scheduler to run less often. Besides, when you install new programs or uninstall certain undesired software, new system restore point will be trigged. Also snapshots can be made by manual if you want system change can be backed up and restored.
Create a system restore snapshot manually with built-in backup
It is advised to create a snapshot before you do anything to system such as modify system setting, upgrading drivers, install system patches, etc. That’s because you can restore files to normal status once system crashes or corrupts. For Windows 7 users, you can either use System Protect tab on the System Properties dialog box or search “create restore point” from search bar to get the window directly. Once you get the System Restore windows, you can click the create button, type some remark for the restore point and then let it start. The process won’t take long, usually a couple of seconds. You can follow prompts given by the wizard and complete the process.
If you are new to these operations and tired with so many steps, you can create a shortcut that makes the snapshot without carry out so many steps. It is correct to make a restore point of system and backup Windows 7 at first if you want to make large changes for your computer.
Restore Windows 7 from the created system restore snapshot
It is not very complex to restore system from the created snapshot. If you have no idea about how to do the recovery, then your system can’t benefit from the snapshot. First, you need to find out the System Restore window in the Control Panel. There is one requirement is that you need to restart computer and boot it too safe mode before restoring. In general, you can restart computer with pressing the key F8 right before Windows is staring up. Then you’ll see the boot menu and be able to select Safe Mode. This might be quite difficult to common computer users.
After entering Safe Mode, you can go to System Properties and select “System Restore” or just search the item from Control Panel. Choose one restore point you want to restore, and click Next button to start the process. If you are not sure which to choose, you can read remarks you wrote to each restore point while creating the snapshot.
You should be aware that this system restore is not going to restore all documents, as it only works with internal OS files, programs, system settings and system files. Therefore, documents on desktop won’t be removed, but shortcut to software would possibly go away of you restore to previous status when you installed apps. It is workable when computer can’t boot, but you need to obtain a Windows installation disc to access the Windows restore function.
Backup & restore Windows 7 with third-party software Eassos System Restore
Many users have witnessed the history that some versions of Microsoft Windows offer bad tool for system backup & restore. Its backup programs built-in system have never actually threaten third-party program in the market. Still most users don’t prepare to use Windows 7‘s Backup and Restore feature, though it has great improvement compared with previous versions.
Windows backup software is specialized tool for system backup. The aim of such software is making backup safe, effective and easy. Usually, it is more flexible and convenient than Windows built-in backup feature, as users can decide many settings. Moreover, one backup program is able to backup almost all Windows versions like Windows XP, Vista, 7, 8, 8.1 and 10 as well as Windows server 2000, 2003 and 2012.
Third-party system backup & restore software like Eassos System Restore is an option. It is able to back up operating system, files and installed program of system partition fully and rapidly. Besides, it supports incremental backup type, which means you can backup Windows whenever you like after changed are made. The backup image file is small and can be saved to specific path. Also it can be added to booting menu based on your demands. System restore can be password protected, so that system won’t be restored by accident or wrong operations. Besides, webpage bookmarks such as Favorites can be backed up or restored together.
Steps to backup Windows 7 with Eassos System Restore
This Windows backup software can be used under Windows, DOS and Win PE. Also it can help users to make bootable USB drive for emergency cases. Thus system backup or restored can be done under all these environments and program interface and steps are same. Here we only explain steps under Windows.
Step 1: Free download and install Eassos System Restore to the computer you are going to backup. You can follow the installation wizard to get it installed without modifying any settings including the installation path.
Note that Eassos System Restore is shareware, but you can try all of its functions for free for half a month.
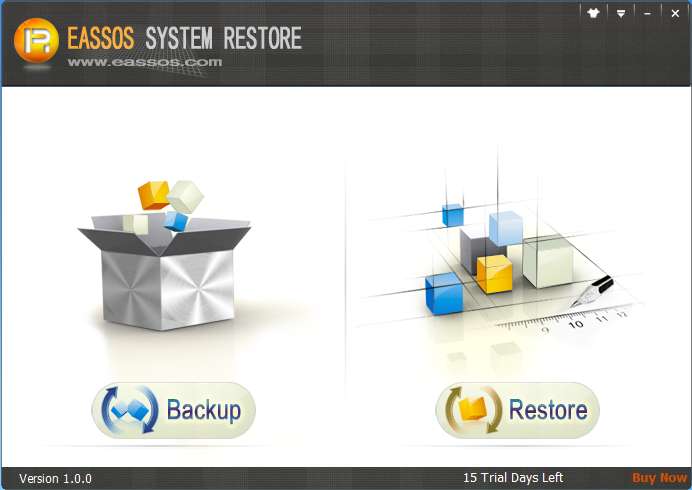
Step 2: Launch the backup software and you see two buttons on the main interface. You can start backup by click the “Backup” button or hot the key F7.
Step 3: Click “Next” button if you don’t know what to do. Actually, it is not that complicated as you assumed. You can leave a remark for this backup and make further setting by click “Options”, after which you are able to set path for backup image file, boot options, etc. It is OK to follow default settings if you are not sure your settings are better.
Step 4: Still click “Next” button. Then you’ll get dialog boxes saying following steps and possible issues you might meet. After reading them, you can click “OK”.
Step 5: Backup system. The program reboots system and starts to backup system automatically. By default, computer will boot to Windows after Eassos System Restore finishes backup task.
The restoring process is just as easy as the backup process and we’ll talk about that in other post later.